Pasquale Lafiosca
Aircraft Skin Inspections: Towards a New Model for Dent Evaluation
Jan 25, 2023Abstract:Aircraft maintenance, repair and overhaul (MRO) industry is gradually switching to 3D scanning for dent inspection. High-accuracy devices allow quick and repeatable measurements, which translate into efficient reporting and more objective damage evaluations. However, the potential of 3D scanners is far from being exploited. This is due to the traditional way in which the structural repair manual (SRM) deals with dents, that is, considering length, width and depth as the only relevant measures. Being equivalent to describing a dent similarly to a "box", the current approach discards any information about the actual shape. This causes high degrees of ambiguity, with very different shapes (and corresponding fatigue life) being classified as the same, and nullifies the effort of acquiring such great amount of information from high-accuracy 3D scanners. In this paper a $7$-parameter model is proposed to describe the actual dent shape, thus enabling the exploitation of the high fidelity data produced by 3D scanners. The compact set of values can then be compared against historical data and structural evaluations based on the same model.
Automatic Segmentation of Aircraft Dents in Point Clouds
May 03, 2022


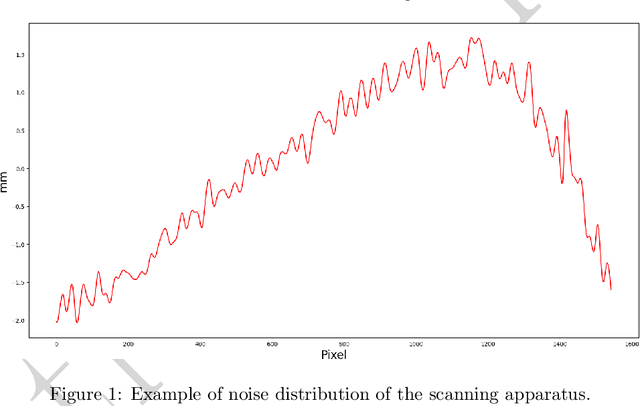
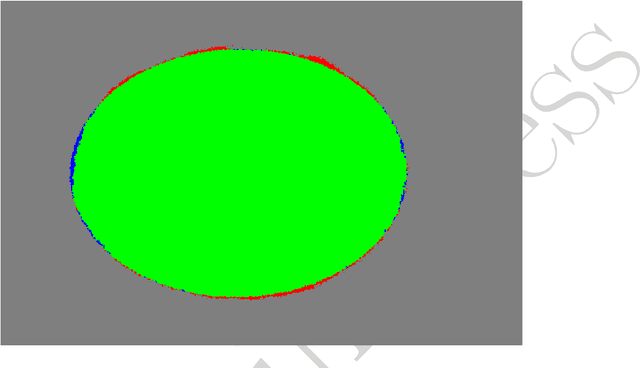
Abstract:Dents on the aircraft skin are frequent and may easily go undetected during airworthiness checks, as their inspection process is tedious and extremely subject to human factors and environmental conditions. Nowadays, 3D scanning technologies are being proposed for more reliable, human-independent measurements, yet the process of inspection and reporting remains laborious and time consuming because data acquisition and validation are still carried out by the engineer. For full automation of dent inspection, the acquired point cloud data must be analysed via a reliable segmentation algorithm, releasing humans from the search and evaluation of damage. This paper reports on two developments towards automated dent inspection. The first is a method to generate a synthetic dataset of dented surfaces to train a fully convolutional neural network. The training of machine learning algorithms needs a substantial volume of dent data, which is not readily available. Dents are thus simulated in random positions and shapes, within criteria and definitions of a Boeing 737 structural repair manual. The noise distribution from the scanning apparatus is then added to reflect the complete process of 3D point acquisition on the training. The second proposition is a surface fitting strategy to convert 3D point clouds to 2.5D. This allows higher resolution point clouds to be processed with a small amount of memory compared with state-of-the-art methods involving 3D sampling approaches. Simulations with available ground truth data show that the proposed technique reaches an intersection-over-union of over 80%. Experiments over dent samples prove an effective detection of dents with a speed of over 500 000 points per second.
Rectifying homographies for stereo vision: analytical solution for minimal distortion
Feb 28, 2022


Abstract:Stereo rectification is the determination of two image transformations (or homographies) that map corresponding points on the two images, projections of the same point in the 3D space, onto the same horizontal line in the transformed images. Rectification is used to simplify the subsequent stereo correspondence problem and speeding up the matching process. Rectifying transformations, in general, introduce perspective distortion on the obtained images, which shall be minimised to improve the accuracy of the following algorithm dealing with the stereo correspondence problem. The search for the optimal transformations is usually carried out relying on numerical optimisation. This work proposes a closed-form solution for the rectifying homographies that minimise perspective distortion. The experimental comparison confirms its capability to solve the convergence issues of the previous formulation. Its Python implementation is provided.
 Add to Chrome
 Add to Firefox
 Add to Edge